How to Integrate Popup Builder with Mailchimp
Step 1: Set Up Mailchimp Integration
To connect your popup with Mailchimp, follow these steps:
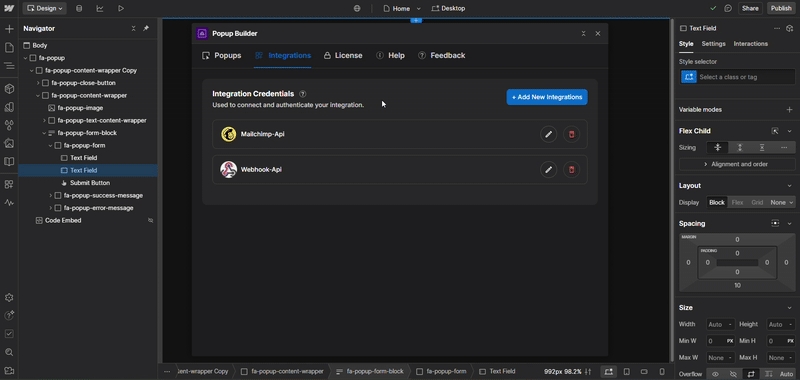
Navigate to the Integrations Tab From the main dashboard, go to the Integrations tab.
Click “Add New Integration” This will open a modal displaying all available integration options.
Connect Mailchimp Click the Connect button next to Mailchimp. A Mailchimp setup form will appear.
Configure the Mailchimp Connection
Enter a unique connection name to identify this Mailchimp integration.
Paste your Mailchimp API Key from your Mailchimp account.
🔑 You can generate your API key from your Mailchimp Account Settings.
Save the Connection Click the Save button to store the Mailchimp integration.

Step 2: Connect Mailchimp to a Popup
To use Mailchimp with a specific popup, follow the steps below:
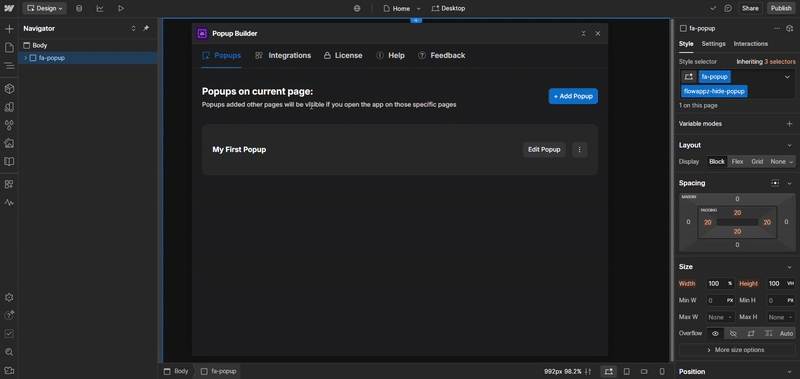
Navigate to the Popups Tab From the dashboard, go to the Popups tab.
Open the Popup Builder Click Edit on the popup you want to configure.
Go to the Integrations Step In the builder, navigate to the Integrations step.
Click “Add New Integration” This will open a modal with all available integration options.
Connect Mailchimp Click the Connect button next to Mailchimp. A Mailchimp setup popup will appear.
Configure the Mailchimp Integration
Enter a connection name.
Select the previously created Mailchimp API key from the dropdown.
Click Next.
Select Mailchimp List Choose your preferred Mailchimp audience/list where the data will be stored. Click Next to proceed.
Match Form Fields Map the popup input fields to the corresponding Mailchimp list fields.
🛠️ This allows you to control which user input gets saved to which Mailchimp field.
Test the Connection Click Test Connection to verify everything is set up correctly.
Save the Integration If the test is successful, click Save to complete the Mailchimp setup for this popup.
✅ Your popup is now successfully integrated with Mailchimp and ready to collect leads.

Was this helpful?